 By Henry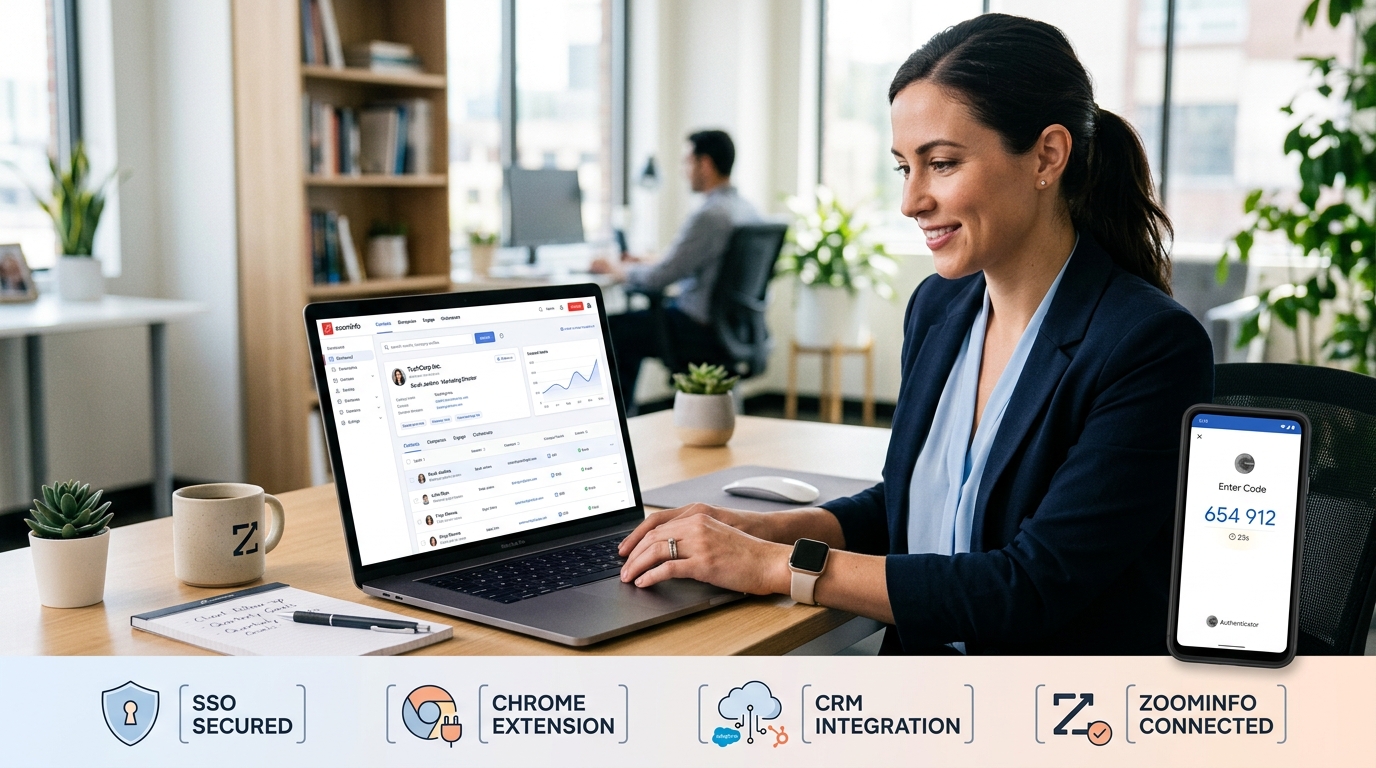
Picture this: You are mid-prospecting session, building a list of decision-makers for a key account, and suddenly you cannot get into ZoomInfo. The clock is ticking, your pipeline goals are waiting, and every minute offline costs momentum. Sound familiar? For B2B sales development representatives, account executives, marketing specialists, sales ops managers, and business intelligence pros, reliable ZoomInfo login access is non-negotiable. This sales intelligence platform and lead generation database powers daily prospecting, so smooth entry matters.
This guide walks you through the ZoomInfo login process step by step, covers common roadblocks, and shares practical habits that keep your access reliable. We will look at password resets, Single Sign-On (SSO) authentication, multi-factor authentication (MFA), browser extension access, and CRM integration points. The goal is simple: get you back into the platform fast and help you stay there with fewer interruptions.
How to Sign In to ZoomInfo: The Standard Steps
Most users start at the official ZoomInfo login page. Head to login.zoominfo.com in your browser. You will see options for email and password, Google, Microsoft (Office 365), or Single Sign-On depending on how your organization set things up.
Here is the typical flow:
- Open a supported browser (Chrome works best for most users) and go to login.zoominfo.com.
- Enter the email address tied to your ZoomInfo account.
- Type your password and click Log In (or the equivalent button).
- If MFA is enabled (and it usually is), complete the second verification step. This might be an SMS code or a code from an authenticator app.
- Once verified, you land in the platform ready to search contacts, companies, and intent signals.
If your company uses SSO, look for the Single Sign-On option on the login page. Enter your work email or username, then follow the redirect to your company’s identity provider (Okta, Azure AD, Duo, or similar). After authenticating there, you return to ZoomInfo automatically.
Google and Microsoft sign-in options appear when your organization allows them. These can save time if you already stay logged into those accounts on the same browser. Just select the button, choose the correct account, and approve any prompts.
A quick tip: Bookmark login.zoominfo.com rather than searching for it each time. That small habit cuts down on accidental visits to outdated or third-party pages.
Resetting Your ZoomInfo Password When You Get Locked Out
Forgot your password or suspect it no longer works? The reset process is straightforward and does not require calling support in most cases.
On the ZoomInfo login page, click the Forgot Password or Need help signing in link. Enter your username or email address. ZoomInfo then lets you choose how to receive a reset code: email or SMS/text. Pick the option that reaches you fastest, enter the code when it arrives, and create a new password that meets the security rules (usually a mix of length, numbers, and special characters).
After saving the new password, return to the login page and sign in with the updated credentials. If the reset email or text does not appear within a couple of minutes, check spam or junk folders. Also confirm the phone number on file can receive standard SMS messages; VoIP numbers sometimes cause problems.
If you no longer have access to the email or phone used for recovery, reach out to your ZoomInfo admin or contact support at helpmenow@zoominfo.com. Admins can often help restore access from the Admin Portal.
Setting Up and Using Multi-Factor Authentication (MFA)
ZoomInfo requires multifactor authentication for stronger account security. The first time you log in after MFA is turned on, or if your method needs updating, you will see a setup screen.
You typically choose between SMS text codes or an authenticator app such as Google Authenticator. For SMS:
- Enter a mobile number that can receive text messages.
- Receive and enter the verification code.
- Confirm the setup.
For an authenticator app, scan the QR code shown on screen with the app, then enter the generated code to finish linking.
Once set, every login requires both your password (or SSO) and the second factor. Codes expire quickly, so enter them promptly. If a code fails, click Resend Code and try the new one.
A common glitch happens when your device clock is out of sync. Authentication tokens rely on accurate time. On Windows, go to Settings > Time & Language > Date & time, turn on automatic time, and click Sync now. On macOS, open System Preferences or System Settings > Date & Time and enable automatic setting. Syncing the clock often clears “invalid code” errors right away.
If you lose access to your MFA method (lost phone, for example), contact your ZoomInfo admin. They can reset 2FA from the Admin Portal so you can set it up again on a new device.
ZoomInfo Single Sign-On: Streamlined Access for Teams
Many larger organizations configure Single Sign-On so employees use the same credentials they already use for other work tools. This reduces password fatigue and improves security oversight.
To use SSO:
- On the ZoomInfo login page, select the Single Sign-On (SSO) option.
- Enter your work email or the username your IT team provided.
- You will be redirected to your company’s identity provider.
- Complete authentication there (password plus any MFA your company requires).
- After success, the browser returns you to ZoomInfo already logged in.
If you see an “SSO Error,” double-check that you selected the SSO path instead of the regular email/password fields. Confirm with your IT or ZoomInfo admin that SSO is fully configured and that your account is mapped correctly. Sometimes a certificate expiration or attribute mismatch on the identity provider side causes temporary failures. Your IT team usually handles those fixes.
SSO also plays nicely with many CRM integrations. Once authenticated through SSO, session tokens often carry over to connected tools, reducing repeated logins during a workday.
Logging Into the ZoomInfo Chrome Extension
The ZoomInfo Chrome extension lets you pull contact and company data while browsing LinkedIn, company websites, or your CRM without switching tabs. Login for the extension follows a simple sequence.
First, make sure you are already signed into the main ZoomInfo platform at login.zoominfo.com in the same browser. Then open a new tab, navigate to the site where you want to use the extension, and click the ZoomInfo icon in the Chrome toolbar. The extension should detect your active session and show your initials or account indicator.
If it does not recognize you:
- Confirm the extension is installed from the official Chrome Web Store and pinned for easy access.
- Check that Chrome allows the extension to read and change site data when clicked (or on specific sites if you prefer tighter control).
- Clear browser cache and cookies if the session seems stuck, then log into the main platform again.
- Ensure your ZoomInfo license includes the products the extension supports (Sales, Copilot, or Talent depending on your plan).
Update both Chrome and the extension regularly. Outdated versions are a frequent source of login and display problems. If your company restricts extensions, ask IT to allowlist the official ZoomInfo one.
Common ZoomInfo Login Problems and How to Fix Them
Even with solid credentials, access can stall. Here are the issues teams run into most often and the practical fixes.
Computer clock time inaccurate Authentication systems reject tokens when the device time drifts. Sync your system clock as described earlier. This single step resolves many “authentication failed” or unresponsive screens.
SMS code invalid Request a new code. Make sure the phone number is not a VoIP line and that it can receive standard texts. International numbers sometimes face delivery delays or blocks; switch to an authenticator app if SMS keeps failing.
Authentication failed Try a different browser or an incognito/private window first. Clear cache and cookies for zoominfo.com. If the error persists, email helpmenow@zoominfo.com with details of what you see.
SSO error Confirm you selected the SSO button. Verify with your admin that your account is active and correctly provisioned. Temporary identity provider outages can also cause this; check status pages if available.
Landing on the pricing page instead of your account Your access may have been deactivated. Contact your ZoomInfo admin to reactivate the license. This often happens after role changes, contract adjustments, or inactivity.
Browser-related problems Use an up-to-date version of Chrome when possible. Disable conflicting extensions temporarily. Allow cookies and third-party cookies if the platform or extension requires them. Visit the ZoomInfo status page to rule out wider platform issues.
Social login restricted Some organizations disable Google or Microsoft sign-in. In that case, use email/password or SSO instead.
When none of the quick fixes work, gather screenshots of the exact error message, note the time it occurred, and reach out to support or your internal admin. Providing clear details speeds up resolution.
Best Practices for Managing ZoomInfo Account Access
Reliable access comes from a few consistent habits rather than last-minute troubleshooting.
Keep your recovery email and phone number current in account settings. Update them whenever you change devices or carriers. Store passwords in a company-approved password manager so you avoid writing them down or reusing weak ones.
For teams, lean on SSO whenever it is available. It centralizes control and reduces individual password reset tickets. Admins should review user licenses periodically so deactivated accounts do not create confusion during onboarding or offboarding.
Enable MFA on every account and prefer authenticator apps over SMS when possible for better reliability. Train new hires on the login flow and MFA setup during their first week so they do not hit roadblocks later.
Monitor the ZoomInfo status page during busy prospecting periods. Knowing about an ongoing incident prevents wasted time on personal troubleshooting. Also keep the Chrome extension updated and test it after major browser updates.
Integrate ZoomInfo with your CRM thoughtfully. Once the connection is authenticated, many workflows stay logged in longer, cutting down on repeated credential entry.
Finally, treat login credentials like any other sensitive sales tool. Do not share accounts. Each user should have their own license so activity is properly attributed and security remains intact.
Putting It All Together: Smooth Access Every Day
ZoomInfo remains one of the core B2B prospecting tools for revenue teams. When login works without friction, you spend time researching and outreaching instead of fighting authentication screens. Start with the official login page, complete MFA promptly, use SSO if your organization offers it, and keep the Chrome extension in sync with your web session.
If problems arise, work through the common fixes in order: clock sync, password reset, code resend, browser refresh, then support. Most issues resolve in minutes once you know where to look.
What has been your biggest ZoomInfo login headache, and how did you solve it? Share your experience so others on the team can benefit.
You May Also Like: What Is Hochre? The Sleek Blogging Platform for Modern Creators